


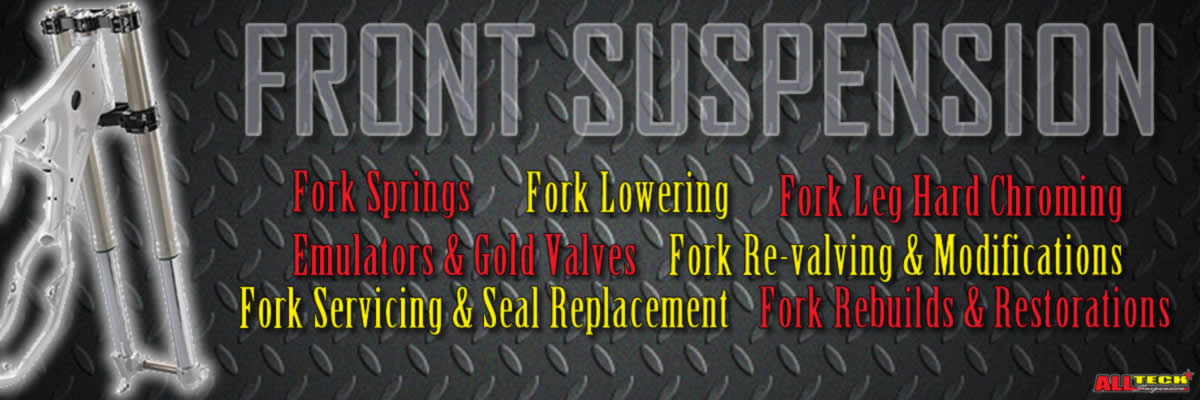


Damping Rod Forks (Orifice Damping)
The most common fork design is the damping rod. Damping rod forks have been around for years and today can be commonly found on most cruisers, standards, trail bikes, dual-sports, minis, and most vintage bikes. Damping rod forks are less expensive to manufacture but don’t offer much sophistication in the way of damping control.
Damping Rod Anatomy
Figure 3.8 shows the components of a damping rod fork design. The fork slider at the bottom is attached to the motorcycle’s front axle and the fork tubes are inserted into the upper and lower triple clamps. Inside the forks are the springs and damping rods. The main fork spring is located directly on top of the damping rod that is fastened to the fork slider with a bolt at the bottom. The main spring supports the sprung mass of the front of the motorcycle and rider. There is another smaller spring called a top-out spring located between the bottom of the damping rod and bottom of the fork tube. The top-out spring keeps the fork tube from banging into the damping rod as the forks extend fully. Most modern damping rod forks use a top-out spring.

Figure 3.8
The top of the damping rod is a piston and has a piston ring that seals on the inside of the fork tube. The piston ring keeps suspension oil from passing between the damping rod and the inner fork tube. On some older model vintage bikes (the 1960s and 70s) many forks did not come with a piston ring. These forks were very inconsistent and wear became a big factor in how much rebound damping was created.
Damping Rod Compression Stroke
When the fork is compressed (figure 3.9), you can picture the fork tube (the upper portion) moving downward into chamber A. The volume of oil displaced is that which the fork tube displaces. (This means the wall thickness, not the outer diameter or inner diameter.)

Figure 3.9
As the fork compresses, the volume in chamber A is getting smaller while the volume in chamber B is getting larger. This means the oil pressure in chamber A increases while the pressure in chamber B decreases. However, as soon as movement occurs, the rebound check valve opens and allows fluid to pass easily into chamber B. This means the pressure in chamber B is only slightly less than in A, and you can practically consider chambers A and B to be one chamber (AB).
At this point, the volume the wall thickness of the fork tube displaces still needs to get out of chamber AB. It escapes through the compression damping holes located at the bottom of the damping rod, up through the center of the damping rod, and out into chamber C. It can also travel out through the rebound hole(s) in chamber B, but this is a much smaller volume.
Compression damping is controlled by the number and size of the compression damping holes and the rebound damping hole(s) along with the oil viscosity. Note that the rebound holes actually reduce the overall compression damping caused by the compression holes. This type of damping is referred to as orifice-style damping because the resistance is created by forcing oil through holes or orifices.
It is also important to note that the pressure in chamber C builds as the air volume decreases. This pressure in chamber C is dependent on the initial pressure, the compression ratio (oil level), and the travel.
As long as the compression stroke is not too rapid, orifice damping can provide a reasonably comfortable ride as the front wheel hits small bumps. Unfortunately, not all bumps are rounded and small in size—when a square-edged or large bump is encountered, orifice damping can create a very harsh ride. Because oil is not compressible, the faster the fork compresses, the faster the oil is forced through the compression damping holes.
Orifice-style damping increases very rapidly as velocity increases. In fact, the damping force increases with the square of the velocity. This means every time the velocity doubles, the damping increases by four times. We have illustrated this (see figure 3.10) by showing the thick flow arrow being squeezed at the entrance of the small orifices on a high-speed hit.

Figure 3.10
You can see the compression stroke displayed on a shock dyno graph in figure 3.11. Notice that as the speed builds, the force builds. This happens slowly at first but then increases rapidly before going nearly vertical. It is almost as if the oil flow—and therefore the fork velocity—reaches a speed limit. This is not absolutely true, of course, but because the damping force becomes very high the maximum velocity the fork reaches, in practice, becomes limited. This causes the wheel to deflect off of square-edged bumps and the ride gets harsh, indicated by the curves going into the “pain zone.”

Figure 3.11
Another drawback of orifice damping occurs in the low-speed range of movement. When braking, the front end dives rather slowly in comparison to the high velocities created on an abrupt hit of a square-edged hole or rock at high vehicle speed. At these low damper velocities, there is not much resistance to flow and the forks feel mushy and dive relatively rapidly. In fact, when going through long duration dips or gullies—even if they are not very deep—the forks can bottom.
Perhaps you’ve considered increasing the compression damping hole size as the solution for the harshness problem. This change in orifice size is illustrated in the compression damping curves in figure 3.11. Notice that the characteristic “fish hook” shape of the curve remains. While less “mushy,” the smaller hole will be excessively harsh on the square-edged hits. The larger damping hole will be mushier, though it will be better at high speed. This style of damping seems to provide the worst of both worlds—harshness and bottoming.
Note also that orifice-style damping doesn’t require round holes. Any fixed orifice will do: square, triangular, oval, and so on.
Damping Rod Rebound Stroke
Now we’ll take a look at the flow of oil when the fork rebounds (see figure 3.12). First, the forks extend as the spring pushes on the damping rod. The rebound check valve then closes and chamber B gets smaller, raising its pressure on rebound to the highest level in the fork. There are two ways oil can get out of chamber B: first through the rebound orifices routed to the inside of the damping rod and, second, between the inner diameter of the check valve and the outer diameter of the damping rod directly into chamber A. Rebound damping is the resistance to this flow.

Figure 3.12
Chamber A on the other hand, is getting larger on the rebound stroke, and therefore has the lowest pressure. This low pressure in chamber A causes oil to be sucked back in, refilling it.
Just like on the compression stroke, rebound resistance on a damping rod fork is created through orifice damping. Rebound damping, however, is a much simpler job than compression damping. Rebound only has to control the force of the fork spring, whereas compression damping has to deal with whatever forces the road or track dish out. Maximum compression velocities often range from two to six times greater than those during rebound. Thus the limitations of orifice damping are less critical for rebound than for compression.
A major potential problem of a damping rod fork is cavitation (see figure 3.13). Cavitation is the formation of vapor bubbles in a flowing liquid caused by a decrease in pressure. This occurs specifically in areas where the pressure of the liquid falls below its vapor pressure. This is the same phenomenon as boiling, but in this case it is caused by a decrease in pressure rather than the addition of heat.

Figure 3.13
This creates two problems. First, it makes the oil compressible because it contains vapor bubbles or “voids,” thereby decreasing the oil’s damping characteristics. Second, when the void in the oil rapidly collapses, it produces a shock wave that can damage and pit the surface of the parts (this second issue is much more of a problem in shocks than forks). The potential for cavitation increases at lower pressures and higher temperatures.
On the rebound stroke, chamber A is getting larger and sucking oil back into it. The greater the resistance to flow is at the compression orifices (smaller holes or thicker oil), the greater the potential for cavitation. Stiffer springs and hotter oil also increase the potential problem.
The Progressive Myth
This brings us back to the age-old question: “How do you make it firm and plush at the same time?” Most suspension tuners have believed that the solution was to make it more progressive. Perhaps you’ve noticed the shape of the orifice-style damping curve and thought to yourself: “Wow, that curve is really progressive!”
In fact, orifice-style damping is the most progressive type of damping there is. But with the shortcomings of orifice-style damping (harshness and bottoming), you can see that more progressive isn’t necessarily better.
Consider the compression damping curve labeled “digressive” in figure 3.14. At low speed, it has a lot more compression damping. This will make the action much firmer when hitting the brakes, thereby controlling dive (the front end compressing during braking). It will also help bottoming because on every compression stroke, no matter what maximum velocity is reached, the velocity begins and ends at zero. This means the damper sees low-speed damping twice per stroke, so any increase in low-speed damping tends to improve bottoming resistance.

Figure 3.14
Also notice that, at high velocity, the curve doesn’t get into the “pain zone.” You might think, “Yeah, but it’s heading there.” In actuality, there is a maximum velocity that the suspension sees in the real world. This maximum velocity is partially dependent on the size and shape of the bumps being hit, the vehicle speed, the mass of the bike, and the suspension setup. The highest velocity I’ve ever recorded on the ShockClock is 15 m/sec on a “short” supercross landing (the rider hit the face, didn’t quite make it).
Granted, that is very fast, but it also has some implications—changes to the damping curve at velocities over 15 m/sec don’t have any practical effect even in supercross racing.
Gold Valve Cartridge Emulator Fork
Fortunately for damping rod fork owners, there is an elegant way to change the shape of the damping curve with the addition of Race Tech Gold Valve Cartridge Emulators. I invented Emulators back in the early 1990s to provide the compression damping curve of a cartridge fork, make it tunable, and offer it at a very reasonable cost.
With the Emulator, low-speed compression has a much better feeling of control while high-speed compression absorbs large and sharp-edged bumps without harshness. This provides the rider with better steering response and causes the bike to feel more planted in the turns, yet more comfortable at the same time.
You can see in figure 3.15 that the Gold Valve Cartridge Emulator sits on the top of the damping rod and is held in place with the main spring. The Emulator performs two jobs: it provides a digressive compression damping curve that is adjustable and separates compression from rebound damping so that both can be independently tuned. Let’s take a look at how it works.

Figure 3.15
The Emulator takes over compression damping duties from the damping rod. To do this the damping rod compression holes are enlarged and, depending on the model, increased in number. With larger flow area the restriction at the compression holes becomes negligible. It is certainly still there, but the effect is so small it is no longer significant. Instead, all the compression damping takes place in the Emulator.
With the Emulator installed on top of the damping rod, low-speed damping is controlled by low-speed bleed hole(s) in the valve piston (see figure 3.15). Oil flows unrestricted from chamber A to the inside of the damping rod, then up toward chamber C. At the lowest velocities there is not enough pressure to open the main valve piston and all the oil goes through the Emulator’s low-speed bleed hole.
At higher velocities, particularly when the wheel encounters a square-edged bump or when landing from a jump, the forks must move rapidly. The oil pressure builds in chamber A and beneath the Emulator to a point that lifts the Emulator piston off its seat, allowing the oil to flow into chamber C (see figure 3.16).

Figure 3.16
The opening pressure is adjustable via the valve’s spring preload. Changing the valve spring rate controls the slope of the damping curve once the piston opens—check out the range of adjustment available (figure 3.17).

Figure 3.17
Here is a closer look at the details of the Emulator (see figure 3.18). The mid-speed compression damping adjustment is accomplished by changing the valve spring preload that pushes the piston against the Emulator’s valve face. By increasing the valve spring preload, more pressure is required for valve opening.

Figure 3.18
Once installed, making changes is relatively easy. First, remove the fork cap and main spring. Use either a long welding rod bent over at the end or a “parts grabber” and lift the Emulator out of the fork tube. Adjust the valve spring preload and reinstall. This can be done on many bikes with the forks still mounted.
Let’s look at rebound (see figure 3.19). Installation of the Emulator does not change rebound damping, therefore, adjustment of rebound damping is made by changing the oil viscosity. Though it may not sound like it, this is still a significant change. In a standard damping rod fork with no Emulator, changing the oil’s viscosity will change rebound damping, but at the expensive of changing compression damping in a similar way. With an Emulator, it doesn’t matter what weight oil is used to obtain ideal rebound damping because compression damping can be adjusted separately.

Figure 3.19